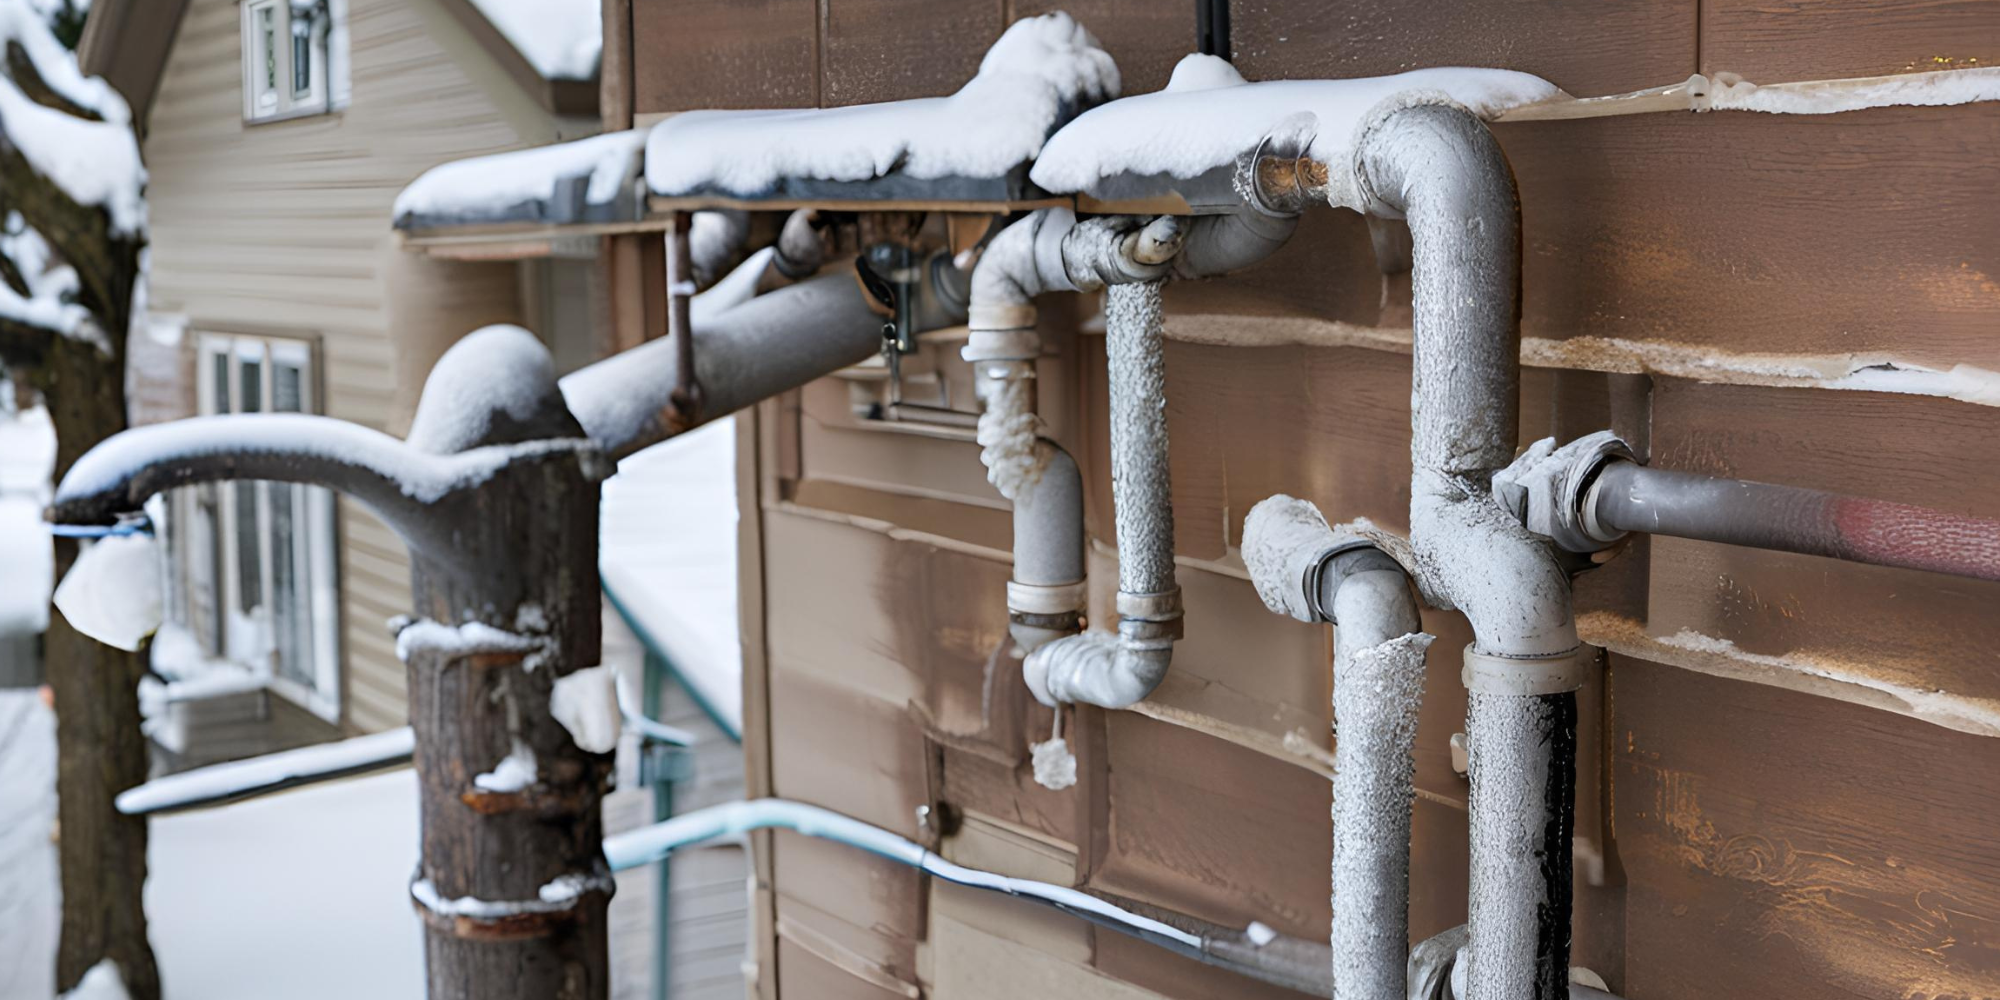
How to Safely Thaw Frozen Pipes Without Causing Damage
Frozen pipes are a common problem in cold climates, and they can lead to severe damage if not addressed promptly. When water freezes, it expands, which can cause pipes to burst and result in costly repairs. The key to safely thawing frozen pipes is to act quickly and carefully to avoid further damage. Here’s a step-by-step guide to help you handle this situation safely and effectively.
Step 1: Identify the Frozen Pipe
Before you start, locate the frozen section of the pipe. Look for these signs:
Frost on the outside of the pipe.
A bulge or unusual shape in the pipe.
Little or no water flow from faucets.
Frozen pipes are most likely to occur in areas with inadequate insulation, such as basements, crawl spaces, attics, or exterior walls.
Step 2: Turn Off the Water Supply
Prevent a potential burst pipe by shutting off the water supply to the affected pipe. Locate the main water shutoff valve in your home and turn it off.
Tip: Open the affected faucet to relieve pressure and allow melted water to flow out as the pipe thaws.
Step 3: Apply Heat to the Frozen Section
Thaw the frozen pipe slowly to avoid sudden pressure changes that could cause it to burst. Use one of these safe methods:
Hair Dryer: Direct warm air along the length of the pipe, starting from the faucet and moving toward the frozen section.
Heating Pad: Wrap the pipe with an electric heating pad set to a low or medium temperature.
Warm Towels: Soak towels in warm water, wring them out, and wrap them around the pipe.
Space Heater: Place a portable heater in the area (keeping it a safe distance from flammable materials) to gradually warm the space.
Important: Never use an open flame, such as a blowtorch or lighter, to thaw pipes. This is extremely dangerous and can damage the pipe or start a fire.
Step 4: Monitor the Thawing Process
As you apply heat, keep the faucet open. Water will begin to flow once the ice starts melting, helping to speed up the process. Be patient, as it may take time to fully thaw the pipe.
Step 5: Check for Leaks
Once the pipe is thawed, carefully inspect it for any cracks or leaks. Turn the water supply back on slowly and watch for any signs of water escaping. If you notice any leaks, shut off the water supply and call a plumber immediately.
Step 6: Prevent Future Freezing
To avoid frozen pipes in the future, take these preventative measures:
Insulate Pipes: Wrap pipes in exposed or unheated areas with foam pipe insulation.
Seal Cracks: Use caulk or insulation to seal gaps in walls, floors, and ceilings near pipes.
Let Faucets Drip: During extremely cold weather, let cold water drip from faucets served by exposed pipes to prevent freezing.
Maintain Heat: Keep your home heated to at least 55°F, even when you’re away.
Open Cabinets: Leave cabinet doors open under sinks to allow warm air to circulate around pipes.
Call Marv’s Plumbing & Heating
Frozen pipes can be a stressful problem, but with the right approach, you can thaw them safely and minimize damage. If you’re unsure about handling frozen pipes or suspect a burst, it’s always best to contact a professional plumber. At Marv’s Plumbing & Heating, we’re here to help with all your plumbing needs—from preventative measures to emergency repairs. Stay warm and stay safe!

